I am starting to warm up to the idea of throwing back to 3 buttons games again. Most of the golden age of console gaming happened games with only 2 or 3 buttons predominantly through the megadrive/genesis, pc-engine/turbografx and famicom/nes. Sure arcades (till this very day) has been utilising the same game configuration, but something about home conversions that makes it all the more special.
Daimakaimura on the first video, followed by Wonderboy all on the PC-Engine.
Thursday, 23 February 2012
Monday, 13 February 2012
Blast from the past...
Dug up these photos of my NAOMI cabinet with custom yellow monitor mask.
Really should look into making a better mask and with colours, grey is so 90's...
Really should look into making a better mask and with colours, grey is so 90's...
Video of the uVC in action on the PONY II
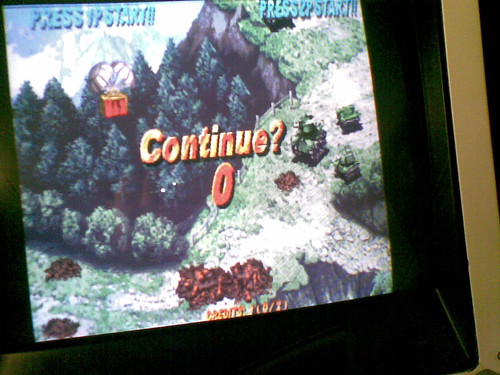
Sorry for the shitty phone camera quality picture, as what everyone will say, the image IS better in person. I did not notice any screen tears, off colour, motion blur or any artifacts while running this game through my emachine netbook and the uVC. The slowdowns may not be emulated propely though...In any case, its a good start to the cabinets new lease in life.
Modulised uVC board with independent power and RCA breakouts
Was spending the good part of the night placing the SCART to JAMMA and monitor remote board on the PCB holder of the PONY II and it all seem tidier now. There is enough space to put an xbox360 standing up inside, however, its running the cables outside of the cabinet that will prove to be the internalising idea difficult, so I decided to replicate what I have done with my OKBaby: open up the back and run videogame consoles from the outside. No doubt it will have better ventilation.
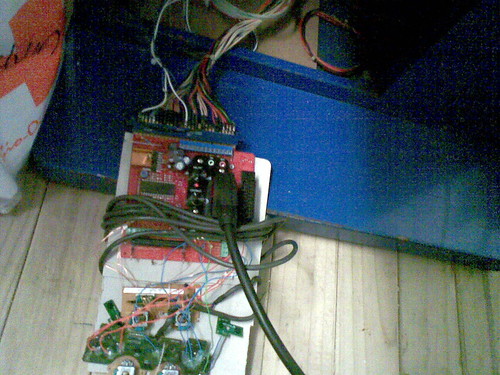
I also decided to modulise my uVC so its not a loose PCB with wires hanging off it, so I mounted the PCB, the header to RCA breakouts and even a HDD power adapter off a single piece of reinforced cardboard. Its quite neat and transparent according to my standards. Everything is held together with cable ties and the cable itself!
I also decided to modulise my uVC so its not a loose PCB with wires hanging off it, so I mounted the PCB, the header to RCA breakouts and even a HDD power adapter off a single piece of reinforced cardboard. Its quite neat and transparent according to my standards. Everything is held together with cable ties and the cable itself!
Sunday, 12 February 2012
uVC to SCART to JAMMA all in a days work.
Decided to pimp the PONY II with a bit of 15 KHz 240p processing and multiconsolise it at the same time. Its in the same vain as the OKBaby, but this time round I decided to give the uVC (universal video converter from HAPPS) a go and boy I am glad I did. Not only is it 8 times smaller than the emotia, but it can handle 24 KHz processing as well. Only drawback is that it is not at all output friendly, not only you need to solder it to a fingerboard before you can use it on the cabinet but by doing that you need to solder controls and sound as well to the same fingerboard or boards if you chain the boards with jamma adapter(s). So I decided to go with Viletims' solution again and rig the uVC to a scart connector. I asked Tim of Viletim whether his adapter will accept the uVC's signal and to be honest, he can not be sure, but I took a punt and it paid off. Currently the uVC can only run on the arcade screen, I attempt to run it on my sony PVM with no success. The viletim adapter has to be cranked up to 40% before I saw a picture.
So on with the pictures:
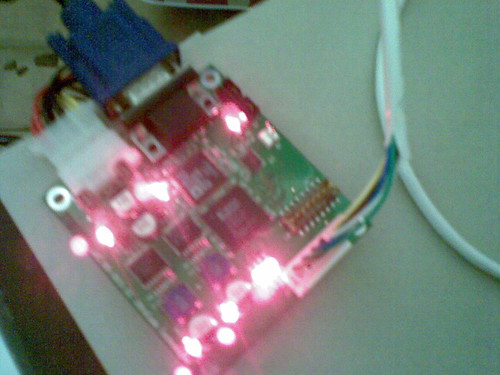
The uVC did not come with a header, so I built one. I thought about directly soldering the header to a fingerboard, but decided against that idea and instead made rca breakouts from the header for easy connection. The connections are Red, Green, Blue, H(C)-Sync and all grounded to GND on the connector. I did not bothered with V-Sync because the uVC has a jumper to set output to C-Sync.
Next I rewired a RCA to SCART to pass through the signals from the uVC. Make sure you check these RCA to Scart cables before you hook anything up to them because the wiring on them can be crazy sometimes. Always buy the ones with a screw bottom of the SCART plug and open it up to double check the wiring.
I powered the uVC with a makeshift pc and it litterally lit up like a christmas tree. I tried the output on my pvm but it seems like the signal maybe too weak or it was searching for composite video sync (the uVC is outputing just composite sync) so it was just a black sreen..things not looking good : (
Alright...so now I hooked up the scart cable to the primary reason for the uVC: to run 15/24 KHz on arcade monitor. I am going to use two dualshock1 pcbs for controls because various other console adapters have better compatibility with these type of pcbs. Viletims adapter lit up as expected when I powered up the cabinet. I slowly dialed the contrast and a picture appeared at about 40%.
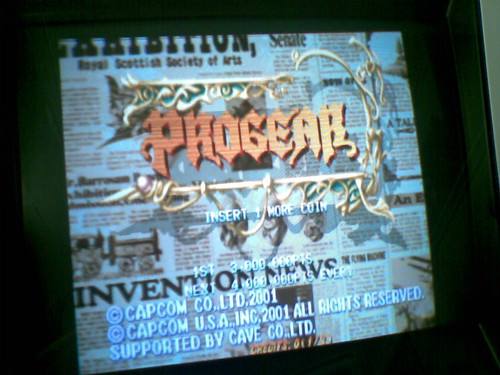
I christened the setup with Progear of cause! The picture was very very nice indeed.
Will upload a video of it in action soonish..
Subscribe to:
Comments (Atom)


